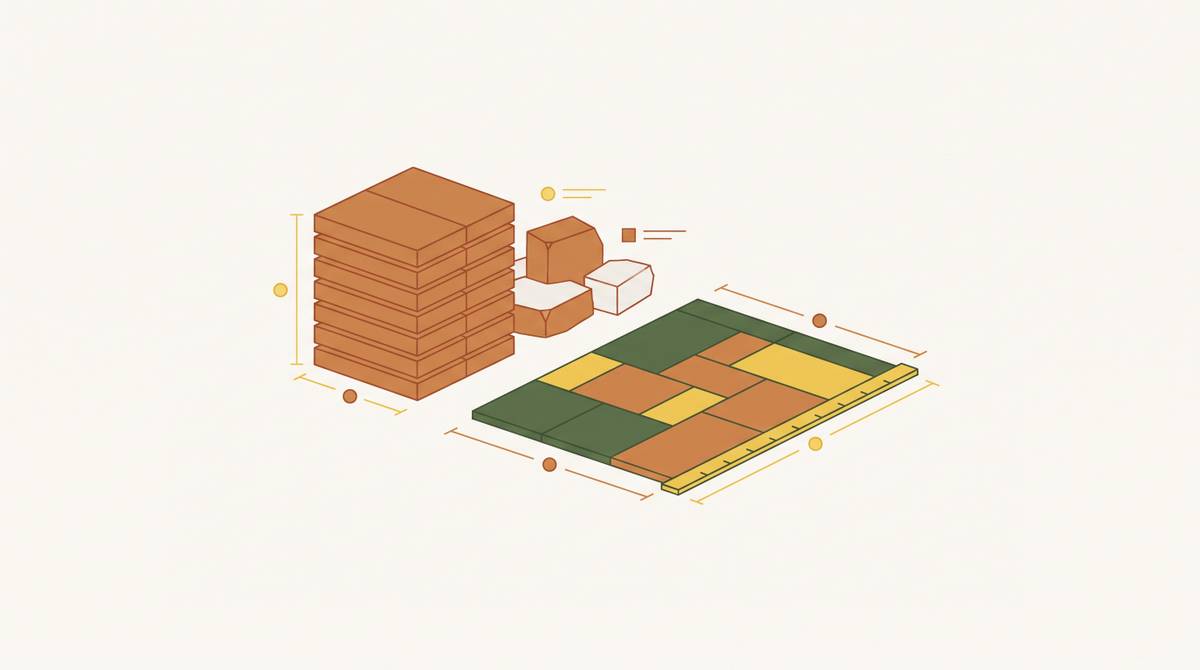
Concrete Patio Slope Requirements for Drainage and Code Compliance
Concrete slope is locked in at pour time and must meet code minimums to prevent foundation damage.
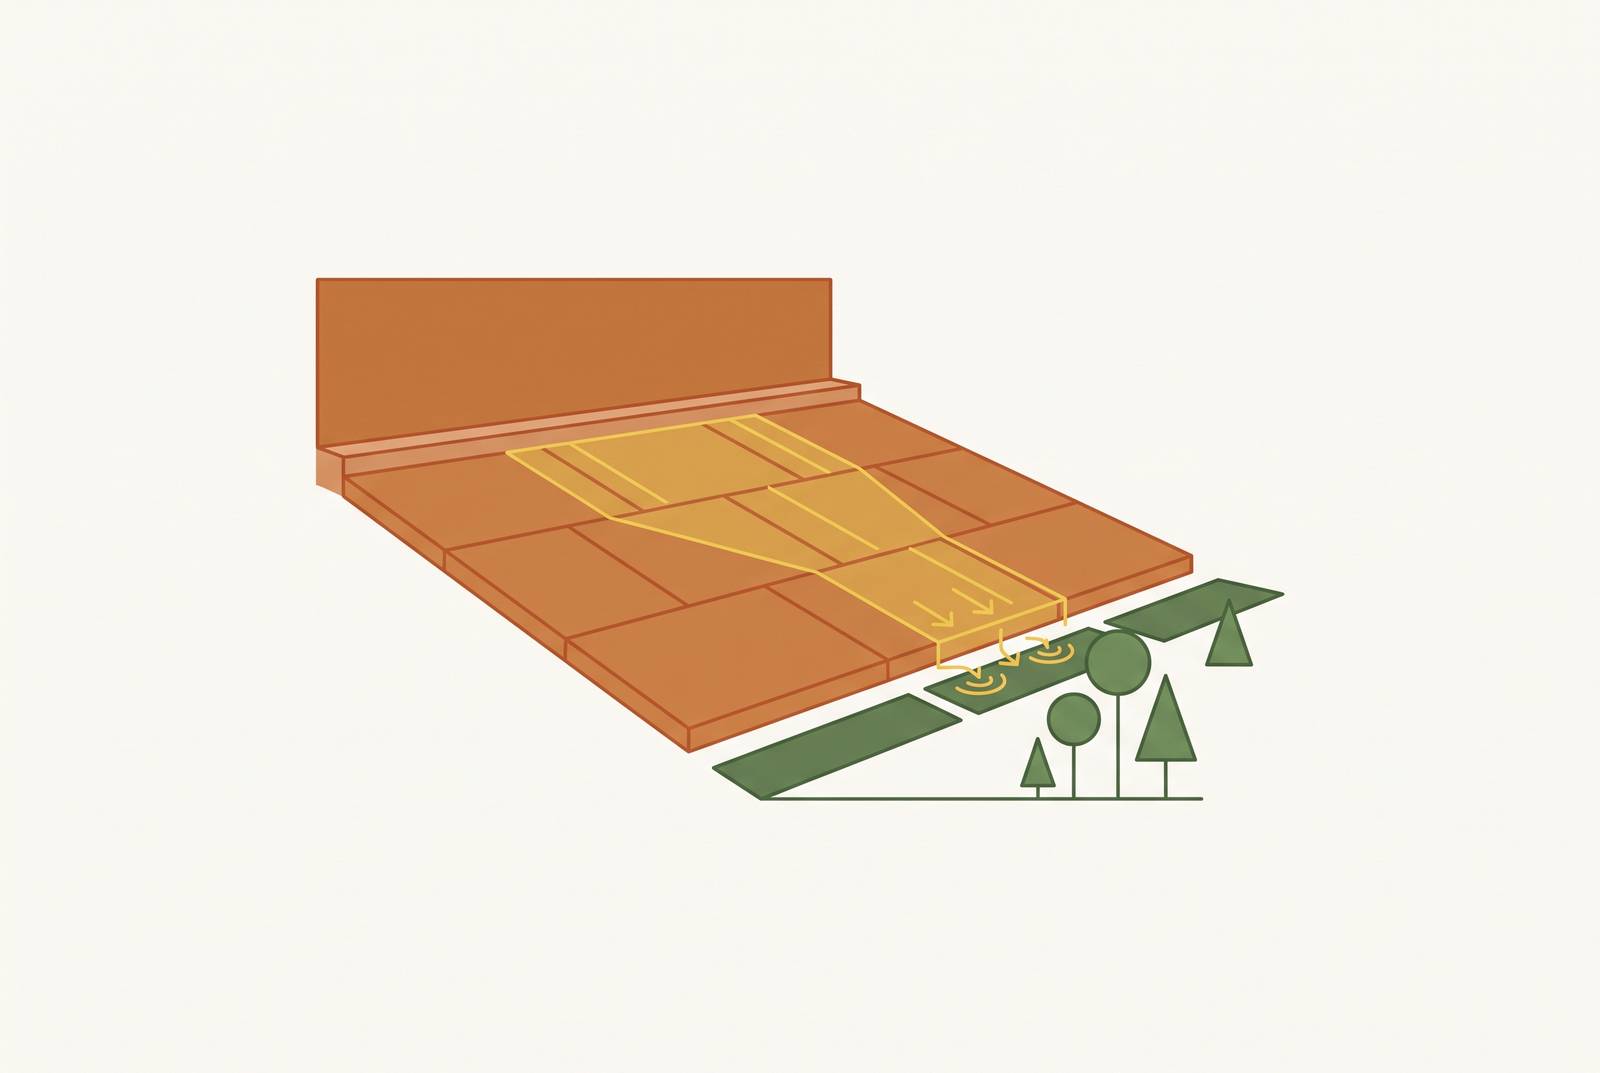
Concrete patio slope is one of the only decisions in residential construction that cannot be fixed after the fact. Once the slab cures, the drainage outcome is locked in for the life of the installation. Correcting bad fall means demolishing and replacing the slab, not patching it.
That makes the hours before the pour the highest-leverage window in the entire project. Fall gets set when the forms go in, long before the truck arrives. Get it wrong there, and no amount of finishing skill or decorative detail afterward changes where the water goes. Water that pools against a foundation raises hydrostatic pressure on below-grade walls, which is exactly the condition IRC Section R401.3 is written to prevent. Positive drainage away from the foundation perimeter is a code requirement, not a design preference, and it's the reason grade-setting deserves more attention than it usually gets before the pour.
What the IRC and IBC require for patio slope
The IRC sets two separate slope standards depending on what sits on top of the ground, and patio contractors get held to the stricter one. Landscaped or permeable surfaces fall under the general grading rule in IRC Section R401.3: finished grade must drop a minimum of 6 inches over the first 10 feet moving away from the foundation. That rule governs lawns, mulch beds, and gravel, not concrete flatwork.
Impervious surfaces, concrete patios among them, answer to a different standard tied to IRC Section R506, the section covering concrete floors on ground. Patios fall under this structural category, and it specifies minimum concrete compressive strength for standard slabs and a higher strength requirement for slabs exposed to freeze-thaw cycling under R506.2.1. The 2024 IBC, in Section 1804.3, aligns with R401.3 on requiring finished grade, including concrete flatwork, to slope away from building foundations. That alignment confirms the drainage-away-from-foundation principle holds across both residential and commercial code frameworks, even though the specific numeric targets differ by surface type.
Contractors who treat the R401.3 landscaped-grade number as if it applies to a poured patio are working from the wrong rule. The IRC is a model code, and local jurisdictions amend it, so the numbers above are the baseline, not necessarily the final word for a given address. Confirm the amended local requirements with the building authority of record before finalizing any grade design, since inspection will be against the local version of the code, not the model version.
The minimum slope is the floor that construction tolerance demands
A quarter inch per foot sounds like an arbitrary number until you look at what construction tolerance does to a slab poured below it. Real-world concrete work never lands exactly on the design line. Forms shift slightly, screeding isn't perfectly uniform, and minor settlement happens even on well-prepared subgrade. Every one of those deviations eats into whatever slope the design called for, and a slab designed too close to flat can lose its entire effective gradient to tolerance, leaving sections with no drainage path.
Designing at the code minimum builds in enough gradient that even worst-case tolerance deviations still leave positive drainage intact across the full slab surface. Below roughly an eighth of an inch per foot, surface tension and minor settlement reliably produce standing puddles. That's the practical floor beneath which no amount of careful finishing can make a design work once it's out in field conditions.
This is the number to have ready when a client pushes back and says the patio "looks sloped." It doesn't hold up under scrutiny. The code minimum grade is visually imperceptible on most finished surfaces. Across a 16-foot patio, the total drop at minimum slope is modest enough that it reads as flat underfoot, even though it's doing real drainage work. The client objection is about appearance; the code minimum is about function, and the two aren't in conflict at the numbers the IRC actually requires.
Three requirements that must all be satisfied simultaneously, not just slope
A patio can hit the required slope number precisely and still fail drainage compliance, because slope is only one of three conditions that all have to be true at once. Treating this as a single-number question is how partial-compliance failures end up generating claims months or years later.
The first requirement is surface fall away from the structure, measured from the high point nearest the building to the low edge: a minimum of an eighth of an inch per foot, with a steeper rate preferred where conditions allow.
The second requirement is where the finished surface sits relative to the building itself. The finished slab surface needs to sit at least 2 inches below the door threshold, giving enough clearance that wind-driven rain doesn't run back inside. On stucco-clad structures, the surface also has to clear the weep screed, the metal flashing at the base of the wall assembly that lets moisture escape from inside the wall system. Pouring concrete up against or above the weep screed blocks that escape path and traps water in the framing. The result is rot and stucco failure that stays invisible at the time of completion and gets expensive years later. This single detail accounts for a large share of the drainage defects found on patios installed by non-specialists.
The third requirement is a clear discharge path once water leaves the slab. A patio that drains correctly into a flowerbed that doesn't drain has simply relocated the problem. Downspouts discharging directly onto a patio are a common shortcut that overwhelms the designed fall in one localized spot, stains the concrete, and saturates the base at the slab edge. Downspouts need to be piped under or around the patio and discharged well clear of it, and the endpoint they discharge to has to be confirmed before the pour, not assumed afterward.
How fall requirements shift by installation situation
The standard fall target is a starting point, but the right drainage solution depends on where the patio sits and what surrounds it. A few common configurations:
Standard patio, open and away from the house: fall in the range from the code minimum up to a preferred quarter inch per foot. The steeper end of that range is more forgiving of minor settlement over time.
Patio under a covered structure: minimum of an eighth of an inch per foot still applies. A roof overhead doesn't mean the slab stays dry. Wind-driven rain and wash-down water both need somewhere to go.
Pool deck: fall directed away from the pool at an adequate rate, since deck water running into the pool is its own problem. This configuration typically needs a drain line at the outer edge of the deck.
Patio enclosed on multiple sides, house on one side with a retaining wall, planting bed, or fence on the others: there's no free edge for sheet flow to exit, so the design needs a channel drain (a linear grated slot cast into the slab) or area drains at low points, piped to a genuine outlet with its own fall. A drain piped into clay soil or daylighting at the same elevation as the slab isn't functioning drainage.
Patio at the bottom of a slope: has to manage its own surface water plus whatever arrives from uphill. This typically calls for a French drain or swale that intercepts uphill flow before it ever reaches the slab.
Climate and soil type modify all of the above. Wetter climates warrant the upper end of the slope range. Drier climates on stable, non-expansive soils can perform adequately at the code minimum. High clay-content soils benefit from the full minimum or steeper, since clay retains water and moves more with wet-dry cycling.
Subbase, reinforcement, and control joint requirements under IRC Section R506
Slope only holds up over time if the subbase underneath the slab holds up first. Differential settlement from poorly prepared subgrade is one of the leading causes of both slab cracking and the slow loss of designed fall, so the construction sequence below the concrete matters as much as the forms above it.
Site preparation under IRC R506.2 requires clearing vegetation and topsoil before any base work starts. Any clean fill added afterward has to be leveled and compacted per R506.2.1. Uncompacted fill is the leading cause of differential settlement in residential slabs, and settlement is what quietly erases a correctly designed slope years after the pour.
On top of the compacted fill goes the gravel drainage base, specified under R506.2.2 at a minimum 4-inch thickness of compacted aggregate, placed and compacted in 2-inch lifts. That base does double duty: it provides bearing capacity for the slab and it gives subsurface water somewhere to move, which keeps the base itself from saturating and softening under the slab edge.
Slab thickness has its own minimum under R506.1: a nominal three and a half inches. R506.2.4 places reinforcement from the center to the upper one-third of the slab section, positioned there to control the cracking that concrete shrinkage produces during curing. Concrete itself needs to meet a code-specified minimum compressive strength for standard exterior slabs, with a higher strength threshold required under R506.2.1 for any slab exposed to freeze-thaw cycling.
Control joints round out the structural picture. These are planned grooves spaced across the slab to create predictable weak points, guiding the shrinkage cracking that happens during curing into straight, manageable lines. Joint spacing follows slab thickness and the specific concrete mix design being used.
Setting grade correctly before the pour: the sequenced field steps
Grade gets established through form-setting, not during the pour itself. The pour locks in whatever the forms dictate. Pre-pour verification is the only real control point available on the job.
Confirm the discharge path and the site conditions before any design decision gets made. Walk the site during or right after rain, identify where water currently goes and where it actually needs to go, and confirm the outlet endpoint before setting any grade. Designing fall without knowing where the water ends up is designing half the problem.
From there, establish the benchmark elevation that will control the entire grade design. Measure the door threshold height and the weep screed or siding base height, then calculate the maximum allowable finished surface elevation, at least 2 inches below the lower of those two reference points. Every other measurement on the job gets built from this number.
Next, calculate the total fall required across the slab. Multiply the slab depth in feet by the target fall rate, a quarter inch per foot for a standard installation or the eighth-inch minimum for tighter situations, and verify that the resulting total drop is achievable given the benchmark elevation and the ground conditions at the far edge of the slab.
With the numbers set, move to setting the forms to the calculated slope. A builder's level, string line, and string level establish the fall across the form run. A long, flat board paired with a 4 or 8-foot level works well for checking larger sections, while a 2-foot level is appropriate for paver and brick work running at the standard fall rate. Where the slope needs to run in more than one direction at once, string lines fitted with a line level are the reliable method for keeping the geometry accurate.
Before the concrete arrives, verify that the subgrade slope mirrors the form slope. The compacted gravel base needs to match the finished surface grade; a flat base sitting under a sloped form produces a slab of variable thickness, and variable thickness is a direct setup for cracking down the line.
Finally, run the pre-pour checklist while there's still time to fix a problem. Confirm the direction of fall across the patio and the rate per foot. Confirm the finished surface level relative to the door threshold, and on stucco applications, confirm the clearance below the weep screed specifically. Confirm where water leaves the slab and where it goes after that, and check whether any sides of the patio are enclosed in a way that traps surface flow with no escape route. Confirm where downspouts discharge and whether they need to be rerouted, and check whether water arrives from uphill and, if so, whether it's intercepted before it reaches the slab. If drains are part of the design, confirm the pipe run and verify it carries its own fall to a real outlet. Last, confirm whether the patio ties into an existing walkway or driveway that already has its own established fall, since a mismatch there creates a new low point exactly where two surfaces meet.