Installing Pavers Over an Existing Concrete Slab
Proper preparation and drainage are critical—skip them and pavers will fail within seasons.
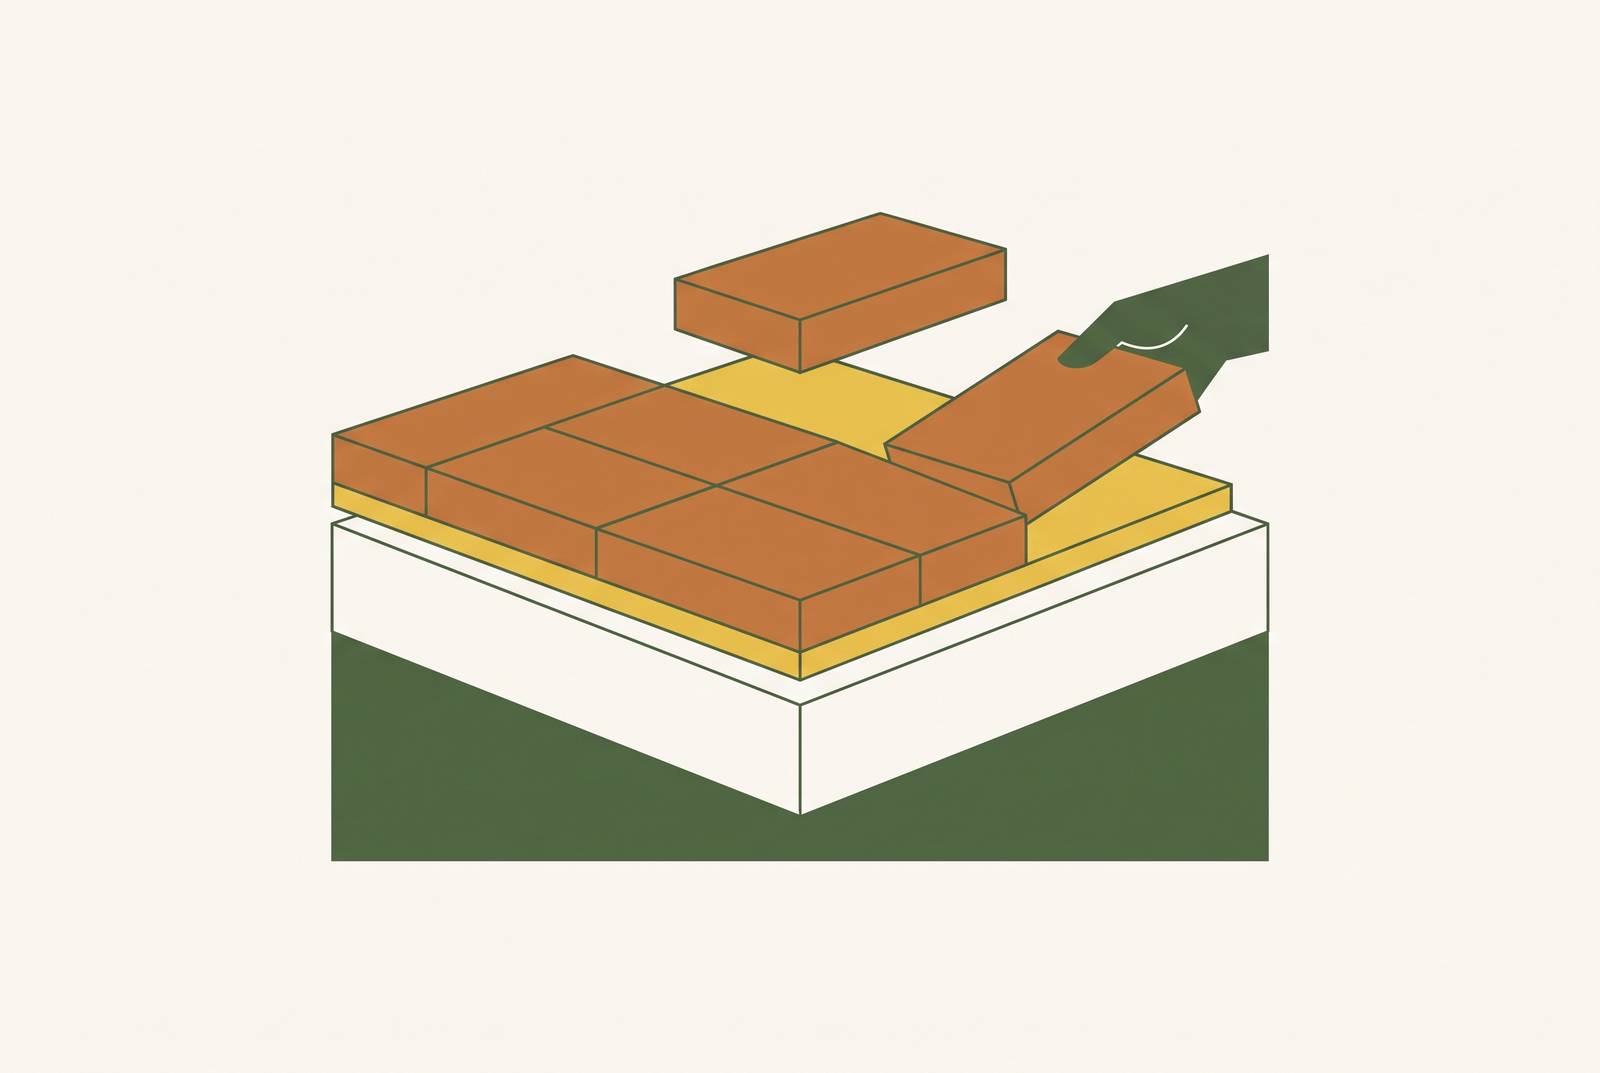
Pavers laid over an existing concrete slab can hold up for decades, or they can start rocking within a single freeze-thaw cycle. The difference almost never comes down to the pavers themselves. It comes down to whether the contractor treated the slab as a shortcut or as a foundation that still has to earn its keep.
The slab stands in for the compacted gravel base a ground-up install would otherwise need, so overlay jobs move faster and cost less in labor. But a slab is rigid in a way that gravel never is. Gravel shifts a little with the seasons. Concrete doesn't, and pavers set on top of it still want to move with the ground beneath the slab, which creates tension at the bedding. Pavers laid directly on a slab will eventually rock and crack because uncompacted sand gets washed out from under them. The pavers are rarely the failure. The bedding is.
That failure carries a cost most contractors don't price into the original bid. When a slab overlay comes apart, the fix usually means pulling the pavers and the slab both, which turns one job into two and puts the second one on the contractor's dime far more often than the client's. Everything in this guide exists to keep that second job from happening.
When the overlay method is appropriate
Three conditions decide whether a slab is a candidate for an overlay at all: it has to be structurally sound, it has to drain correctly, and it has to leave enough clearance for the added height. Fail any one of them, and the right move is demolition.
Structural soundness has a clear line. What matters is whether the movement that caused it is still happening or already settled.
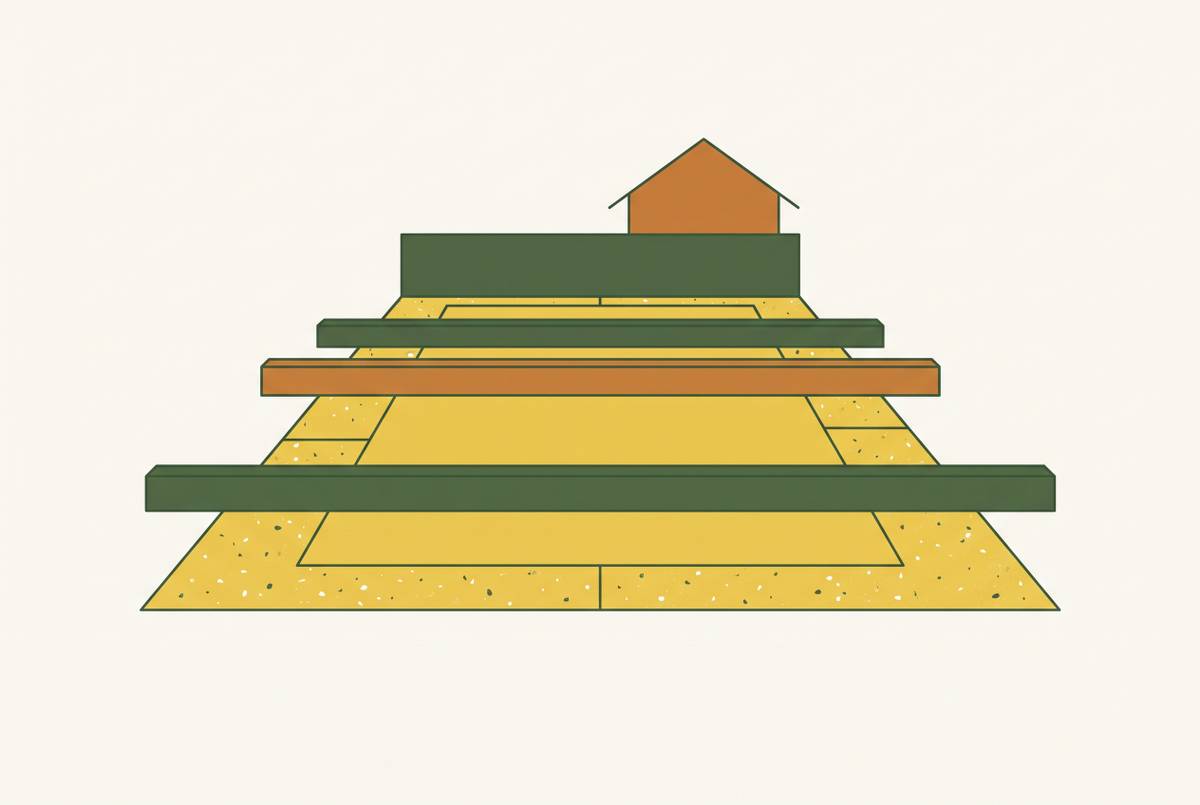
Drainage is the condition with zero room for judgment calls. Ware Landscaping's guidance holds that the slab has to already shed water away from the house at a rate of 1/8 inch of fall per foot. If water pools on the slab after rain, that's a mandate to remove the slab and start over.
Clearance is the condition contractors most often underestimate before they've measured anything. The overlay adds height, typically two to three inches once you stack the bedding layer and the paver thickness, and that gain can throw off door clearance, step transitions, and the line where a driveway meets a garage floor. Rochester Concrete Products discusses slab condition and finished height as considerations worth thinking through, but doesn't lay them out as a required sequence of checks to run before material gets ordered. Treating it as a sequence, in that order, condition, then drainage, then clearance, is what keeps a contractor from ordering pavers for a job that was never going to work.
Driveways deserve their own line of scrutiny here. They carry load stress a walkway or patio never sees, and Angi calls driveway overlays particularly tricky, recommending removal outright when the existing surface is in bad shape. All three conditions still apply to a driveway. They just leave less margin for error.
Reading the slab: how to do the structural and drainage assessment on site
Turning those three conditions into a yes-or-no decision takes more than a walk-around and a guess. It takes a short set of field checks that any contractor can run with tools already in the truck.
The structural check starts with sound. Crack width matters, but crack geometry matters more: a crack with flush edges on both sides is usually just shrinkage, while a crack with one edge sitting higher than the other points to differential settlement, which is a structural issue a bedding layer won't resolve.
The drainage check used to rely on eyeballing which way water ran after a storm. The standard to hit is 1/8 inch of fall per foot, sloping away from the structure, and a laser level confirms that figure in minutes instead of guessing at it after the next rain. While on site, look for efflorescence, the white, chalky salt staining that appears where moisture has been moving through the slab for a long time. It's a sign of a chronic drainage problem that no amount of bedding or jointing sand will correct.
The clearance check is simple arithmetic, but it has to happen before anything gets ordered. If that number creates a trip hazard at a threshold or throws off a step rise, the paver choice needs to change before the job starts, not after the bedding is down. Unilock's own guidance recommends lightly grinding down high spots on the slab if needed, so pavers sit flat once bedding goes in, which is really part of this same assessment rather than a separate phase of work.
How height gain shapes paver selection
Whatever clearance number came out of the assessment now drives what paver goes down. Standard concrete pavers run around 2.3 inches thick, while pavers made for overlay work run closer to 1 inch, cutting the height added to the finished surface by more than half. On a job where clearance is tight, that difference is often what makes the overlay method possible at all instead of forcing a full rebuild.
Ware Landscaping points to thin pavers over concrete as one of the bigger trends going into 2026, especially for jobs covering old concrete walkways and pool decks, where clearance is usually the tightest constraint on the project. Porcelain pavers are showing up more often in that same category: ultra-thin, nearly non-porous, and available in finishes that convincingly mimic wood or marble. They come with one real catch. Because the surface is so non-porous, standard polymeric jointing sand is far more likely to leave a visible haze on them, so porcelain installs call for a porcelain-specific jointing sand instead.
Beyond thickness, the paver format still has to match the application. None of that changes the clearance math above. It just narrows which product fits once the height budget is set.
Border pavers set in adhesive directly on the slab sit at a different height than field pavers, because field units get lifted by the bedding sand underneath them and border units don't. A thicker border paver, matched to that difference, keeps the finished surface level at the edge instead of creating a step where none was intended. Order more material than the measured area calls for, since cuts, curves, and the occasional damaged unit will eat into the count.
The three installation methods
Three installation methods cover nearly all overlay work, and each one answers a different combination of foot or vehicle traffic and drainage demand. Picking the wrong one for the load the surface will carry is one of the more common ways an otherwise well-assessed job still fails early.
The sand-set method is the standard choice for pedestrian applications like patios and walkways. A 1-inch bed of coarse, washed sand gives the pavers just enough room to shift slightly through freeze-thaw cycles without cracking, and drain holes placed at low points let water that gets into the joints escape the bedding layer instead of pooling under it. A layer of landscaping fabric under the sand helps keep that bedding material from migrating sideways over time.
The bituminous set method uses a mix of asphalt and sand, and Ware Landscaping calls it the gold standard for pavers over concrete driveways. Industry specifications generally reserve this method for full-thickness interlocking pavers rather than thin pavers, since its value is load-bearing strength close to that of a paved road, while still keeping the look of a stone surface. That strength is what a sand-set bed can't reliably offer under vehicle weight, so driveways and sand-set rarely belong together.
The mortar set method, including the dry mudset variant, bonds pavers directly to the concrete base and is generally used where vehicles won't be driving over the surface. Because mortar creates a rigid bond, it only belongs on a slab that's fully stable. Any active movement under a mortar-set install will crack the bond.
Contractors who've worked enough of these jobs will point out that slabs in genuinely excellent condition are rare in the field. Contractors who run that assessment carefully are the ones who end up choosing the right method for what the slab can actually support, and the ones who skip it are the ones fielding the callback.
Belgard and Unilock both back the overlay approach as legitimate and durable once slab condition, drainage, and clearance have been verified. The job is matching the method to the conditions on that specific slab, not defaulting to whichever method is fastest to install.
Surface prep and bedding placement: the steps where overlay installs succeed or fail
Method selection sets the plan.
Surface prep starts with getting the slab down to bare concrete. Commercial-grade pressure washing strips out oil, moss, and loose debris, and both adhesives and sand beds need that clean, stable surface to actually bond or seat the way they're supposed to. Skipping this step undermines everything applied on top of it, no matter how well the rest of the install goes.
Cracks get addressed next, before any bedding material goes down. Anything wider than 1/8 inch needs a polymer-based filler before any bedding material goes down, and cracks whose edges sit at different heights warrant a professional leveling assessment before proceeding. Any high spots or ridges on the slab need light grinding at this stage too, because a small hump that seems minor will telegraph straight through the bedding layer and show up later as a rocking paver, even on an install that did everything else right.
With the surface clean and flat, the bedding layer goes down to a consistent, uniform thickness across the whole area. Laying then proceeds from a straight reference line, starting at a corner or a fixed edge and working outward, so that any cut pieces land at the perimeter instead of in the middle of the field where they'd be most visible and most likely to shift.
Where the slab is flat or drainage is only marginal, drill small drain holes through the slab at the low points before the bedding goes in. Left to collect under the bedding, it becomes the same washout problem that causes bedding failure.
Before any joint filling begins, walk the finished field and check for rocking units, correcting them with small bedding adjustments as needed. Once polymeric sand goes in on top of a rocking paver, that paver is already a future callback.
Edge restraints: why lateral containment is non-negotiable regardless of method
Pavers work as a flexible system by design, which lets them handle seasonal ground movement without cracking. That same flexibility means lateral pressure, from foot traffic, parked cars, even soil pressure at the edges, will slowly push the field units apart over time if nothing is holding the perimeter in place. This holds true no matter which of the three methods was used to set the field.
The current standard is heavy-duty PVC or aluminum restraint anchored straight into the concrete base with masonry bolts made for that purpose. Skipping this step, or substituting a soil-grade restraint because it's on hand, is a quiet cause of long-term drift.
Not every edge needs a separate restraint. Any open edge, though, needs mechanical anchoring without exception.
Border pavers set in polyurethane-based construction adhesive directly on the slab can do double duty here, serving as both the visual edge of the design and part of the containment system, as long as the adhesive is fully cured before the field pavers go down next to it. Restraints go in before compaction and before any jointing material, since there's no way to anchor the edge properly once the field above it is locked in place.
Polymeric sand
Polymeric sand is the last material to go into an overlay job, swept into the joints between pavers and activated with water so it hardens into a bond that resists washout, weed growth, and insect intrusion better than plain sand. It's a finishing step, and like every finishing step in this guide, it only works if everything underneath it was done right.
What polymeric sand cannot do is fix a problem that originated earlier in the job. It won't stop a paver from rocking if the bedding underneath wasn't screeded evenly. It won't stop water from pooling if the slab never had proper slope to begin with. It won't hold a joint together on a slab with active structural movement. Every one of the earlier steps, the structural assessment, the drainage check, the bedding screed, the edge restraints, exists precisely because polymeric sand has limits, and a contractor who treats it as a cure-all for a shaky install is setting up the next callback.
Applied correctly, it goes into dry, clean joints, gets worked in fully so there are no voids, and gets activated with the amount of water the product calls for, no more and no less. On porcelain pavers, the general-purpose polymeric sand most contractors reach for isn't the right product, since it's prone to leaving a visible haze on a surface that porous concrete or natural stone would have simply absorbed. A porcelain-specific jointing sand avoids that problem.
None of this replaces the groundwork laid earlier in the job. It completes it. An overlay that passed the structural check, held proper drainage, kept the right clearance, used the method suited to its traffic load, and was prepped and bedded with care is an overlay where the polymeric sand finishes a job that was already sound, not disguises one that wasn't.
Sources
- How to Put Pavers Over Concrete: Complete 2026 Homeowner’s Guide - Ware Landscaping
- Installing Pavers Over Existing Concrete Patio
- Can You Put Pavers Over Concrete and Is It a Good Idea?
- How to Lay Pavers on Top of Concrete
- Don't Remove that Concrete Slab! Overlay it with Pavers
- How to Install Pavers On Top of Concrete or Asphalt