Screed Rail Setup for Paver Base Accuracy on Residential Sites
Proper rail setup determines bedding depth and prevents costly settlement failures.
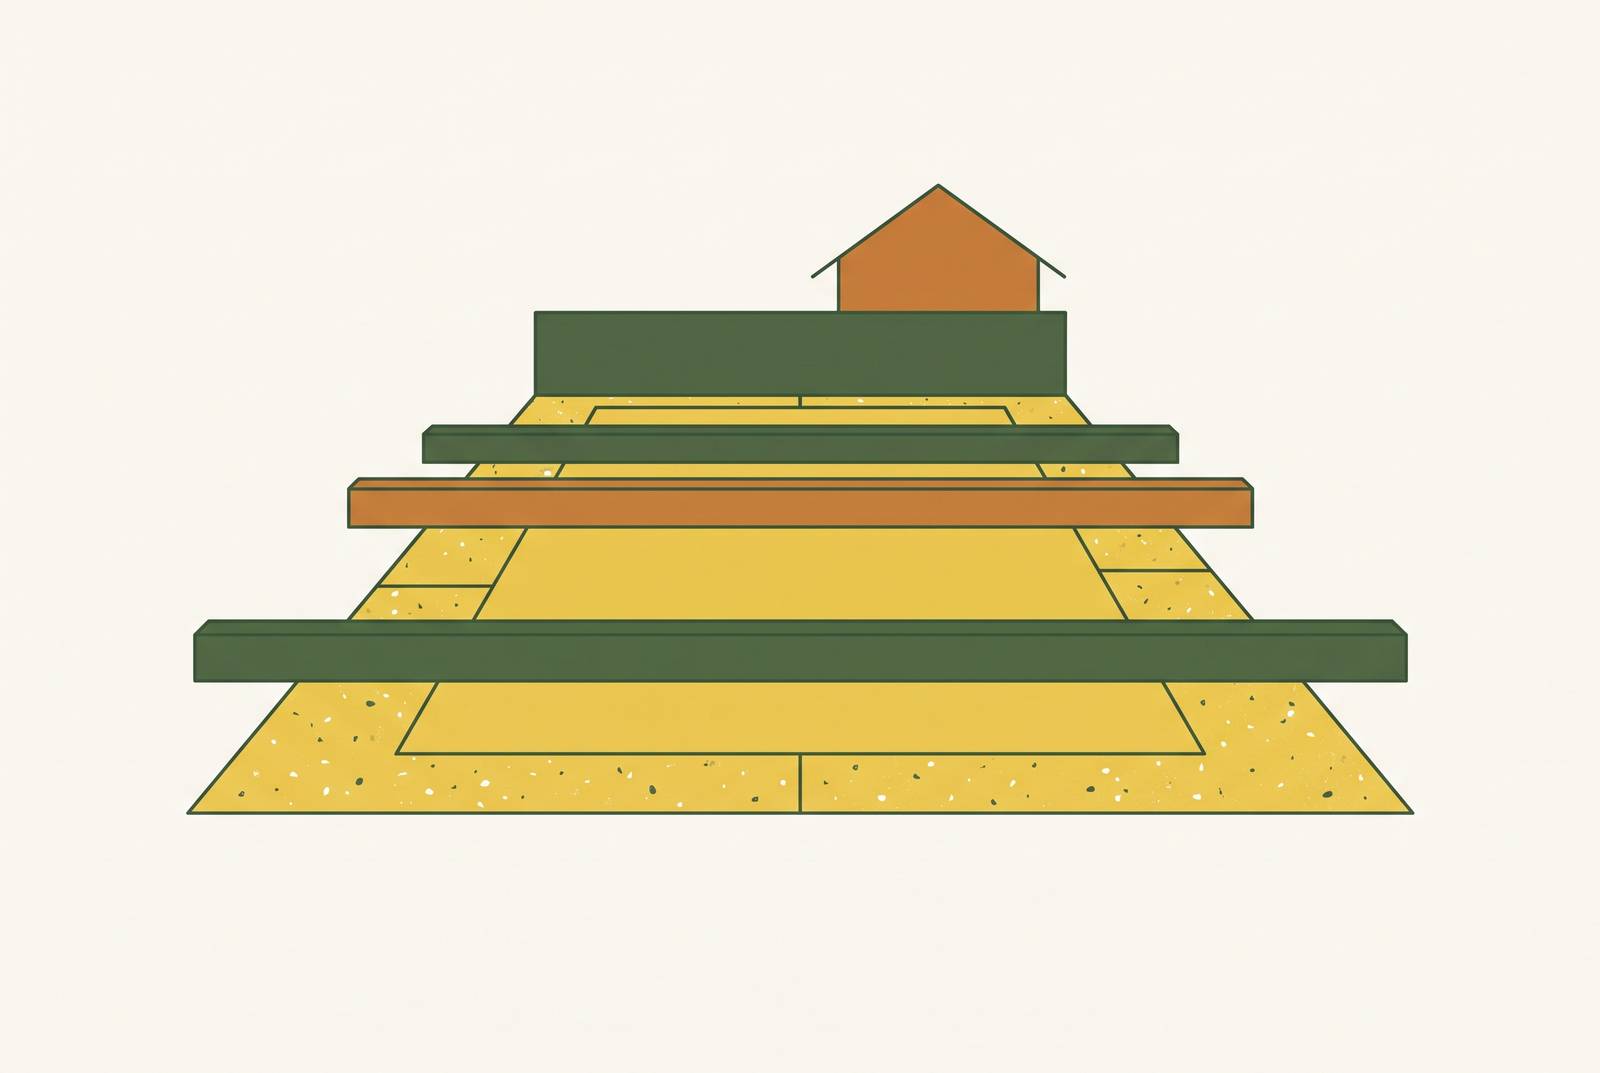
The screed rail is the piece of equipment that turns a 1-inch bedding layer from a guess into a fixed, repeatable number. Correctly set rails hold the sand bed at the same depth from one end of a patio to the other. Get the rails wrong and no pulling technique, no sand blend, and no amount of hand-finishing will fix what's underneath the pavers.
The bedding layer has one job: final leveling and uniform support for the pavers sitting on top of it. It's not there to fix a base that was graded poorly. Blades Direct is direct about this: leave the gravel base uneven, then try to compensate with a thicker sand layer, and the result is settlement, because a bedding layer only performs when it stays thin and consistent across the whole job. When it fails, low spots appear, pavers rock underfoot, water pools where it shouldn't, and surfaces crack months or years later. None of that is cosmetic. It's structural failure with a delay built in.
Most of these failures trace back to decisions made before the screed board ever touches sand. The sections ahead follow that decision sequence in the order a contractor actually runs into it on site: the string line, the rail itself, its height, its spacing, the compaction underneath it, the pull across it, the sand inside it, and finally its removal.
What the string line must establish
Every rail height on a job traces back to a string line set during excavation. That line gets used to measure down and confirm the excavation depth across the entire footprint, and it represents the top of the finished paver surface, not the top of the base or the top of the sand. Everything that follows, rail height, sand depth, paver elevation, is derived from that one reference. If the string line is off by half an inch, every rail set from it inherits that same half-inch error, multiplied across the whole patio.
How to Hardscape confirms the order of operations: the screeding bars follow whatever slope the string line has already established. That means slope isn't something added later. It has to be built into the string line from the start. Standard practice calls for a 2% fall away from foundations, steps, and other structures, and that fall needs to be in the string line before a single rail goes into the ground, because there's no way to add slope to a rail system after the rails are already set to a level reference.
Checking that slope isn't a one-time task. Where drain lines run underneath the work area, the compacted base above those pipes needs to stay at a minimum of 4 inches, which prevents the surface from developing a dip later, right at the point where the pipe crosses.
On larger sites, or on jobs that have to tie into an existing threshold, patio, curb, or drainage structure, a laser level does more than a string line and a tape measure can manage over distance. Blades Direct points to exactly these transition points, tying new work into something that already exists, as the situations where laser grading earns its keep.
Choosing rail material and diameter
Once the string line is set, the rail itself becomes the next decision: its diameter sets bedding depth automatically. It's the mechanism that sets bedding depth automatically. The standard for residential paver work is 1-inch diameter steel conduit. When the screed board rides across the top of both rails, it removes all sand above rail height and leaves a precisely 1-inch bed, because the diameter is doing the measuring.
Other diameters work, but each one changes the outcome. Western Interlock confirms two common alternatives: ¾-inch inner diameter steel black pipe, or 1-inch outside diameter square tubing. Each of these produces a different bedding depth than standard conduit, so the rail choice has to match the bed thickness the job actually calls for.
Material selection matters as much as diameter. Blades Direct lists steel pipe, aluminum tubing, straight lumber, and commercial screed systems as common options, with one requirement running through all of them: the material has to be straight, and rigid enough that it doesn't flex under the screed board as it's pulled. Any bow in a rail becomes a bow in the finished bed.
Purpose-built systems exist for specific applications. The Quick-E-Wall Screed from Pave Tool Innovators (Item# NT002, priced at $148.95) uses four screed pipes linked by 5-foot lengths of chain to hold spacing for retaining wall base work, with the chain doing double duty as a layout guide for the wall itself. The Quick-E-Wall Screed is a tool built for wall base, not for patio field screeding, a specialized option rather than a general-purpose solution.
The 1-inch bedding depth described here is standard for a typical residential paver installation on a dense-graded base. Permeable and open-graded paver systems use different base assemblies entirely, and the rail-diameter math in this section doesn't transfer to those systems.
Setting rail height to hit the correct finished surface elevation
With the rail chosen, its height comes down to simple subtraction, as long as the numbers going into that subtraction are correct. Rail top equals finished paver surface elevation minus paver thickness. For a standard 2.375-inch concrete paver sitting on a 1-inch sand bed, the rail top is finished surface level minus 2.375 inches. That figure is the actual thickness of the paver going into that specific job. A paver sold as roughly 2⅜ inches thick from one supplier may not match another supplier's version at all.
The rail top also has to carry the slope that was already built into the string line. A rail set perfectly level, when the string line underneath it carries a 2% fall, produces a flat bed instead of the sloped one the drainage plan requires. The slope has to travel with the elevation number all the way from the string line to the rail top. If it's dropped at any point in that chain, the finished surface stops draining the way it was designed to.
Getting rail height wrong is one of the more common reasons a bedding layer ends up thick in some areas and thin in others, and that inconsistency is precisely the condition that leads to settlement down the line. Blades Direct's process sequence reinforces why this has to happen after the base is fully compacted: if the base shifts once the rails are already set, the elevation reference the rails depend on is gone.
Rail spacing and support: how far apart rails can be set before the screed board fails to bridge them accurately
Rail height and rail material only matter if the screed board can actually span the distance between two rails without bending. The board has to stay in contact with both rails through the entire pull. Any flex in that board creates a dip or a crown in the sand between the rails, and pavers set on top of that dip or crown will show it.
There's no single fixed number for maximum rail spacing that applies to every job. Spacing depends on the stiffness of the screed board being used, the span it has to cover, and how much margin the installer wants against flex. The Quick-E-Wall Screed's four pipes, held apart by 5-foot chain lengths, are engineered for that specific wall-base application, and that spacing shows that the right distance between rails is a function of what the job requires.
On wider patios, an aluminum screed bar holds up better than a wood board. Wood can bow under its own weight across a long span, while aluminum stays straight. Many experienced installers set rails closer together than the theoretical maximum for whatever board they're using, treating tighter spacing as cheap insurance against the kind of flex that's hard to spot until the pavers are already down.
Support along the length of the rail matters as much as the distance between rails. A rail supported only at its two ends will sag in the middle on a long run, and that sag produces a bedding layer that's thicker at the center of the span than at either end. Intermediate support along the rail prevents that sag.
The compaction sequence that must be complete before rails are ever placed
Every precision step described so far, the string line, the rail diameter, the rail height, the spacing, depends on one condition that has to be true before any rail touches the ground: the base underneath it has to be fully compacted. Skipping this step makes every measurement made afterward provisional, because the base will keep settling after the rails come out, and the elevation those rails encoded disappears with it.
Blades Direct lays out the sequence in plain terms: place the gravel, rough grade it, compact it, add material to any low spots, compact again, and only then move to final screeding. Screeding before that compaction cycle is finished means the surface elevation is still going to shift after the fact, which defeats the entire purpose of setting rails to a precise height.
Compaction happens in separate lifts rather than one thick pass, because a compactor can only influence density through a limited depth on each pass. A residential patio typically needs several inches of compacted aggregate base, and a driveway needs more, but the lift-by-lift approach applies to both. Shallow excavation across a sloped site is one of the more common causes of failure, since the base needs full depth everywhere across the footprint, not just at the lowest point of the grade.
Before rails go in, the base should be checked one more time for low spots that would tempt an installer into compensating with extra bedding sand. That compensation is the exact failure mode Blades Direct identifies as the path to settlement. Fix the low spot in the base. Don't fix it in the sand.
Pulling the screed board: technique and direction
With the base compacted and the rails set, the actual pull across the rails is where all the setup work gets tested. Bedding sand should be spread evenly across the rails before pulling, not piled at one end and dragged across the whole run. The board should be removing a small excess of material as it moves, not shoving large volumes of sand ahead of it.
The pull itself needs to happen in one continuous pass. Stopping partway through and starting again creates a ridge exactly where the board paused, because the sand settles slightly differently on either side of that stop point. The board has to stay in contact with both rails for the full length of the pass. If it lifts off one rail at any point, that section has to be pulled again from the start, not patched.
When the board meets resistance and the sand won't move the way it should, that resistance is usually a signal that the rail is sitting on a high spot in the base underneath it. The correct response is to stop, find the high spot, fix it in the base, and re-set the rail, rather than forcing the board through and letting the resistance distort the pass.
After each pass, check the surface for two separate problems: low spots, where sand got pulled away instead of leveled, and high spots, where material didn't get struck off completely. Low spots get filled with additional sand and re-pulled with the board. They don't get hand-patted level, because a hand can't match the precision the rail reference was built to deliver. Reimagine Home makes the same point about smaller disturbed areas, the ones created during cutting and fitting pavers around edges and obstacles: those areas get re-screeded, not corrected by hand.
Sand selection and its effect on the setup
Every rail can be set to the right height, the right spacing, and the right slope, and the job can still fail if the sand underneath the pavers is the wrong material. Bedding sand needs to be coarse and angular. Fine sand or sand with rounded particles compacts poorly, shifts under load over time, and lets pavers rock even when the bed underneath them was screeded perfectly.
Concrete sand, sharp-edged and coarse, is the correct choice, and it's a different product from all-purpose sand, masonry sand, or the sand sold for sandboxes. Reimagine Home specifies concrete sand with sharp edges over masonry sand for this exact reason: the angular particles lock together under compaction in a way that rounded particles never do.
In high-moisture areas, or on installations that need moderate to high drainage, crushed aggregate replaces conventional bedding sand as the recommended material. Rounded pea gravel doesn't belong in a screeded structural base under any circumstance, because its particles move against each other rather than locking together, and a screed board can't produce a stable surface out of material that keeps shifting as the board passes over it.
Permeable and open-graded paver systems use their own base assemblies, separate from the sand-over-compacted-gravel approach described here, and the depth calculations in this guide don't apply to those systems. That's a different design problem with its own material specifications.
Rail removal without disturbing the screeded surface, and filling the channels correctly
Pulling the rails out of a freshly screeded bed is a precision step in its own right. How the rails come out decides whether the two channels they leave behind stay true to the surface around them or collapse into a mess that undoes the entire screeding pass.
Lifting a rail straight up, rather than dragging it out sideways, keeps the surrounding sand from sliding into the channel unevenly. Pulling a rail sideways drags loose material with it and disturbs sand that was already struck off correctly on either side of the channel. Each channel needs to be filled carefully with the same concrete sand used across the rest of the bed, brought level with the surrounding surface rather than mounded or left low.
A channel that gets filled poorly creates the same kind of inconsistency the entire rail-and-string-line system was built to prevent in the first place: a strip of bedding sand at a different depth than everything around it, right where the next paver is going to sit. The rail did its job getting the bed to a uniform 1 inch across the field. Removing it without care undoes that in the one place where the work is about to be judged first, right along the lines where the rails used to be.