Material Takeoff Process for Paver Patio and Retaining Wall Projects
Accurate material counts for every buried layer prevent costly change orders and callback work.
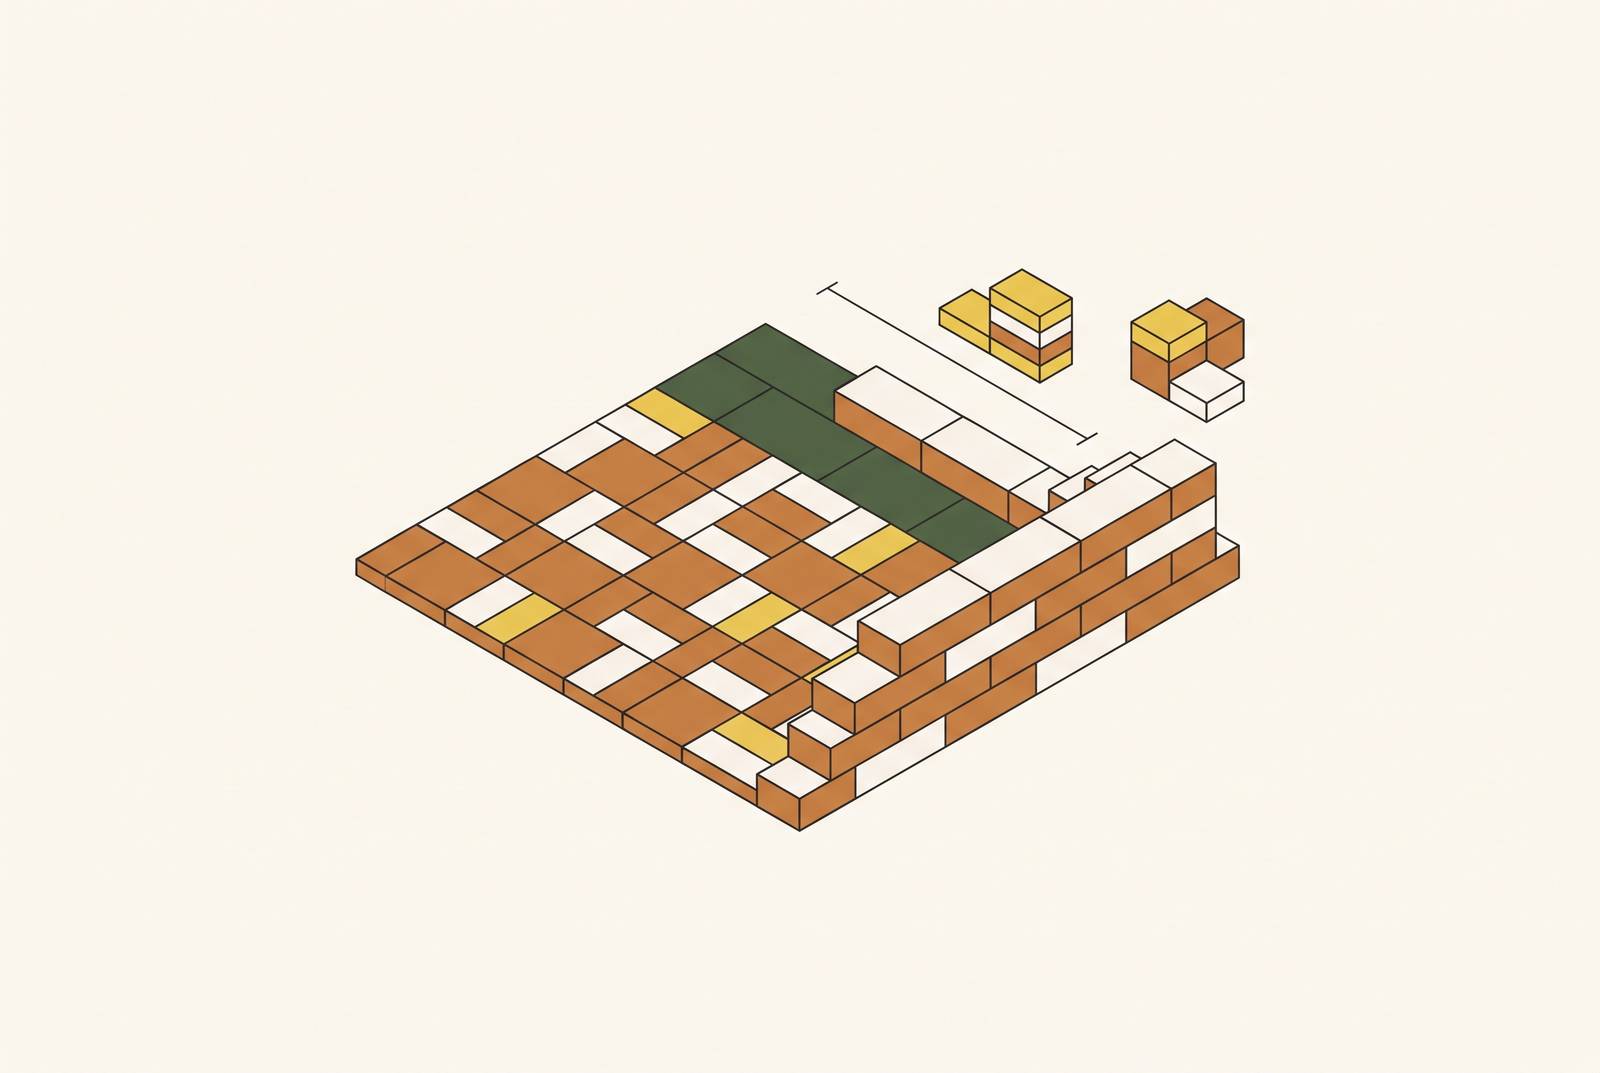
A material takeoff is a full list of every raw material a job needs, with quantities and specs, pulled straight from the design. A material takeoff is a full list of every raw material a job needs, with quantities and specs, pulled straight from the design, and that's it. It's different from a quantity takeoff, which goes beyond the material list to include additional project cost components. Contractors mix these up constantly when pricing hardscape work, and the mix-up costs money. For paver patios and retaining walls, the takeoff has to move through every buried layer in order: base gravel, bedding sand, pavers, joint sand, wall block, drainage stone. Skipping a layer or eyeballing it is where margins disappear and callback trucks get scheduled.
The pattern behind most bad takeoffs is simple: surface-only thinking. Someone counts pavers or counts wall blocks and calls it done, without ever sizing what holds those pavers and blocks in place. That's how DIY patios heave after one winter, and it's how contractor bids get squeezed by change orders nobody wanted.
Reading the site before the takeoff starts: slope, soil, and access as inputs, not afterthoughts
Before anyone opens a spreadsheet or a takeoff app, three things need documenting on site. Skipping this step means every number that follows is built on a guess.
Grade change across the footprint comes first. If the yard drops more than 1 inch for every 4 feet of run, a retaining wall usually becomes necessary to hold a patio built up to proper drainage grade. Crossing that threshold puts a wall on the material list.
Soil classification comes next. Clay soil and freeze-thaw climates both call for deeper compacted base, and may require expanded drainage provisions behind any wall. These aren't upgrades a homeowner can decline to save money, they're structural requirements, and they change the cubic yardage on the order form directly.
Then there's access. A backyard reachable only by wheelbarrow, with no gate wide enough for a skid steer, changes how material gets delivered and staged. That matters for ordering in loads a crew can actually move by hand, and for what the labor line costs.
Sizing the paver patio base: compacted gravel and bedding sand quantities
A durable patio install runs 6 to 8 inches of compacted base gravel, 1 inch of bedding sand, then 2 to 3 inches of paver. Some planning tools default to a 4-inch base depth, and that number may suit certain conditions, but it falls short of the 6-to-8-inch range the evidence supports for most patio installs. Six inches is the safer default for most patios, and the contractor, not the software, has to decide which one actually fits the soil documented on site.
The math itself is straightforward. Get the square footage of the patio area, convert the base depth to a decimal fraction of a foot, multiply the two, and divide by 27 to get cubic yards. Then add a compaction factor. Loose gravel takes up more space than compacted gravel, so the volume ordered has to exceed the finished volume, because compaction reduces the material's volume once it's down.
Bedding sand gets its own line. It's roughly 1 inch across the full patio footprint, but it's a different product from base gravel and needs a separate volume calculation, not a number bundled in with the aggregate order.
Counting pavers: size, pattern, and waste factor
Paver count starts with a simple formula: divide 1 square foot by the paver's face area in square feet. A 4x8 inch brick paver comes out to roughly 4.5 pavers per square foot. A 12x12 inch paver is 1 per square foot. Every other size follows the same math.
Waste factor is where the formula gets complicated, and where a lot of estimators use the wrong number. A straight or running bond pattern needs a 5 to 10 percent waste allowance. Diagonal layouts need 15 percent. Herringbone patterns and curved edges also need 15 percent, because more cuts mean more broken pieces and more scrap.
The gap between 8 percent and 15 percent doesn't sound like much until it's a full pallet of material on a large job. Order too tight and a homeowner ends up waiting on a second delivery, and if the dye lot has changed since the first order, the new pavers might not match the old ones exactly. That's a visible seam in a finished patio, and it's avoidable.
A traced takeoff on a 1,400 square foot paver area, measured with click-and-trace tools on a digital plan, came out to 320 linear feet of edging and 18 cubic yards of base material. That's the kind of detail digital measurement produces directly, no separate translation step needed between the plan and the material list.
Polymeric sand and joint fill: the layer most commonly under-specified
The choice between polymeric sand and standard joint sand isn't a matter of budget preference, it's a spec decision with real consequences. Polymeric sand runs $25 to $35 and activates with water, locking the joints and resisting both weed growth and washout. Standard joint sand runs $5 to $8, has no binding action, and is more prone to ant tunneling and washout over time.
Across a full patio, that difference is between $100 and $500 depending on size, and it deserves a direct conversation with the homeowner before the order goes in, not a silent substitution to hit a number.
Bag coverage for joint sand isn't a fixed number either. It shifts with paver size and joint width, so coverage should come from the actual product data sheet.
Compacting the pavers after the sand goes in, and before the first rain hits, is a step that belongs in the install sequence. But skipping it causes the sand to settle unevenly, and that often means ordering more sand later to top it off. Polymeric sand needs the right moisture and temperature window to activate properly, which also belongs in the takeoff documentation. Get that window wrong and the sand can harden too fast or wash out before it sets.
Retaining wall block count: the buried course and the course-based formula
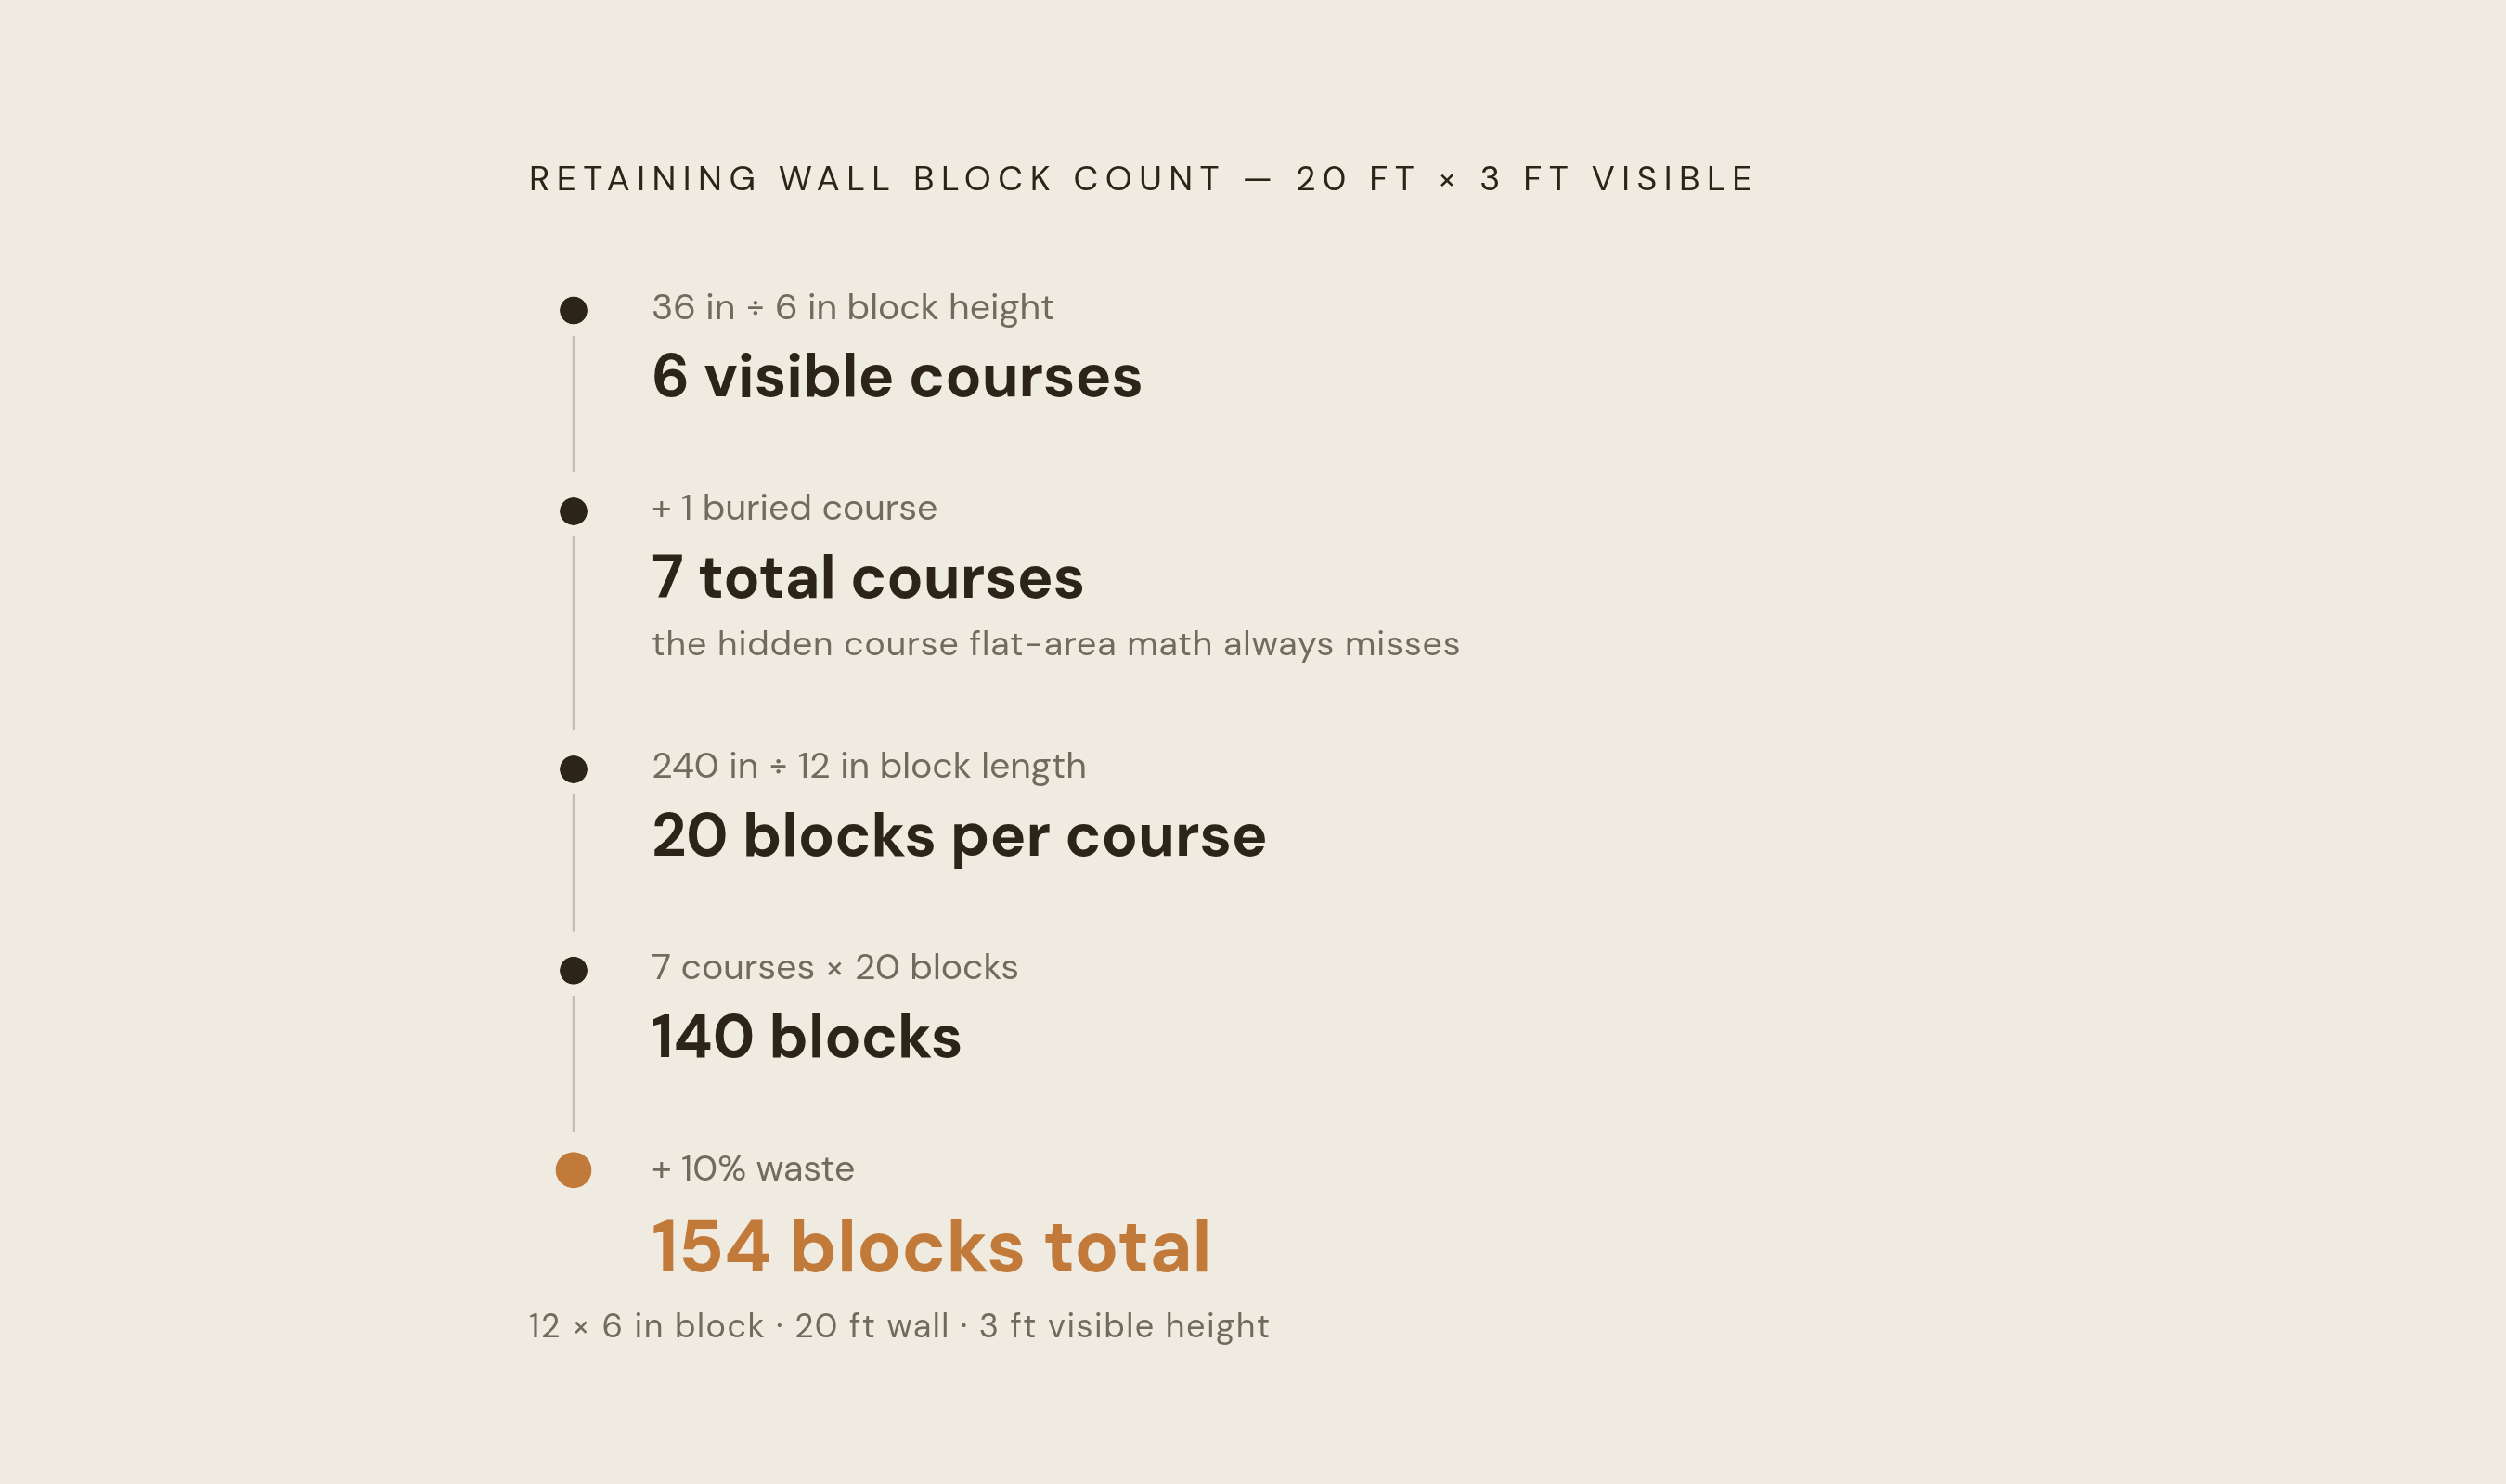
Counting wall blocks by area alone produces the wrong number, every time. Blocks go in as whole courses, and rounding up to a full course creates overage that a flat area calculation never accounts for. Worse, there's a full course of block buried below finished grade that never shows in the finished wall, but still has to be ordered and installed.
The course-based formula fixes this. Divide wall height by block height to get the number of visible courses, rounding up. Add one buried course to that number. Divide wall length by block length to get blocks per course. Multiply total courses by blocks per course, then add a 10 percent waste factor for breakage and corner cuts.
Run that formula on a 20-foot wall with 3 feet of visible height, using 12x6 inch wall block: 6 visible courses plus 1 buried course comes to 7 total courses, at 20 blocks per course, with 10 percent added for waste. That lands at 154 wall blocks total.
Cap blocks get counted separately, since the cap course typically uses a different unit size than the wall block below it. The wall length divided by the cap block length gives the count. Adhesive for setting caps runs $5 to $8 per tube, and each tube covers roughly 10 to 12 feet of wall.
Drainage stone, pipe, and fabric behind the wall: the materials that determine whether the wall stands
Retaining walls fail more often from water pressure trapped behind them than from a miscounted block order. That's the argument for treating drainage as a structural material category in the takeoff, added from the start rather than as a line item at the end if there's budget left.
The minimum drainage zone is 12 inches of clean crushed stone, running the full height of the wall from the base up to within a few inches of the top. Clay soil, or any wall taller than 4 feet, calls for an expanded zone of 18 to 24 inches. That widening changes the aggregate volume significantly, and it has to be specified before the order goes in, not adjusted after the gravel's already on site.
The volume calculation treats the drainage zone as a rectangle: wall length times drainage zone width times the height of the block stack. Convert the result from cubic feet to cubic yards. For the 20-foot example wall, the drainage aggregate behind the full 3.5-foot block stack comes to roughly 2.59 cubic yards, while the base aggregate underneath comes to about 0.56 cubic yards. Those get ordered as separate line items, since the base aggregate and drainage aggregate may need different gradations.
Geogrid reinforcement and engineering thresholds: when the takeoff changes fundamentally
Most segmental retaining wall block systems can stand freely up to 3 or 4 feet without any reinforcement. Past that height, the takeoff isn't just bigger, it's a different project. That 3-to-4-foot number comes from the block manufacturer's own system, not a universal building code, so it has to be checked against that manufacturer's design tables rather than assumed.
Above the threshold, geogrid comes into play: horizontal layers of reinforcement embedded in the wall at set intervals, sold by the square yard and calculated straight from the wall design's reinforcement schedule. The soil mass behind the wall that gets reinforced also extends back from the wall face by a distance the design specifies, and that whole zone has to be excavated, backfilled with compactable material, and compacted in lifts. That adds real volume to both the excavation and backfill numbers, on top of everything already calculated for the wall itself.
Unilock's published guidance says a landscape wall over 3 feet tall, or one carrying an unusual load like a driveway, needs engineering beyond what the standard block system prescriptively covers. CMHA's thresholds point the same direction: engineering is recommended once total height or site conditions go past the prescriptive limits built into the block system, and certain conditions (surcharge loads, weak foundation soils, live loads, slopes, nearby utilities, complex drainage) can force that engineering requirement even on a shorter wall.
Running the integrated takeoff for a combined patio and wall project
The build sequence dictates the order the takeoff has to follow. Site assessment comes first, then design, then excavation, then wall construction (drainage, bedding sand, pavers all install with the wall), and finishing work last, meaning edge restraints, polymeric sand, and capstones.
That sequence matters for ordering because wall drainage aggregate and pipe need to be on site before the wall goes up, while patio base material can wait and get staged for a second phase. Combining everything into one delivery might look efficient on paper, but it often just creates a pile of material with nowhere to sit until the crew is ready for it.
The two systems meet at one critical point: the finished grade at the top of the wall becomes the reference elevation for the patio base above it. Miscalculate the wall height by even one course, and the patio grade shifts, forcing the bedding sand layer to compensate with extra thickness it wasn't budgeted for. That's a small error at the wall that turns into a material overrun at the patio.
A 20x24-foot patio paired with a 48-foot modular retaining wall, daylighted gutter drains, and backyard power runs, built as a DIY project in central New Jersey across two seasons, came in at a materials total just over five thousand dollars. That number reflects what this piece has been walking through: the wall and the patio aren't two separate material lists, they're one system, and the takeoff has to treat them that way from the first shovel of gravel.